
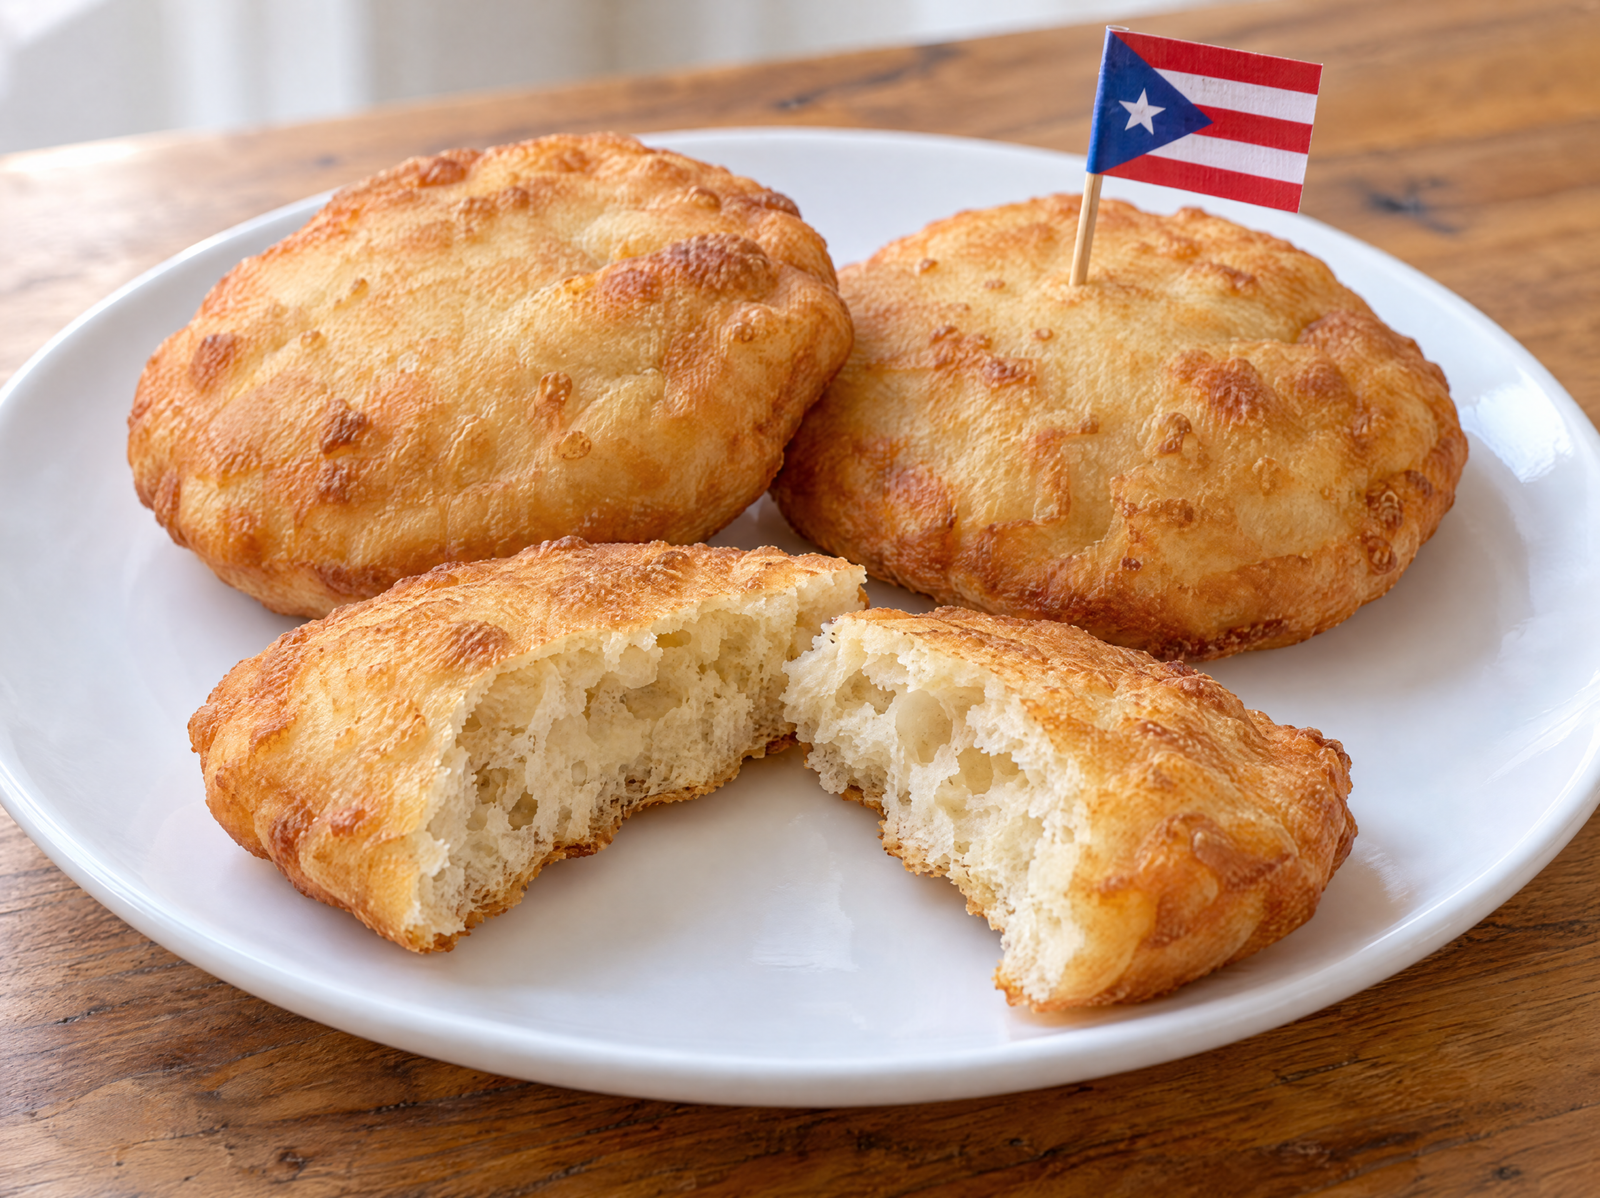
Arepas de Coco Puertorriqueñas (Puerto Rican Coconut Fry Bread)
Arepas de coco are at their best while still warm, when the outside has a delicate crispness and the middle is soft enough to pull apart. The coconut flavor is gentle, and the dough has just enough sweetness to work with either a cup of coffee or something savory.
That versatility is why I wanted to include them on Cocina Hacks. They don’t have to belong only to breakfast or dessert. You can enjoy one plain, add cheese or guava paste, or serve a few alongside a meal.
If you know the corn-based arepas of Venezuela and Colombia, these are different. This Puerto Rican version uses wheat flour and coconut milk, with baking powder to give the dough lift. There’s no yeast, although the dough still needs a short rest before shaping.
Start with the right coconut milk
Use unsweetened, full-fat canned coconut milk, stirring it thoroughly before measuring. The thick cream often separates from the thinner liquid in the can, and you want both evenly combined.
Sweetened cream of coconut—the kind often used in drinks—is a different ingredient. Coconut water and refrigerated coconut beverages also won’t give this dough the same richness and consistency.
Start with the ¾ cup of coconut milk listed in the recipe. Add more only if dry flour remains and the dough won’t come together, working a tablespoon at a time. You may not need the full extra ¼ cup.
The goal is a soft, manageable dough that feels slightly tacky. Knead it gently for just a minute or two, then cover it and let it rest for 30 minutes. That rest allows the flour to hydrate and the dough to relax; you aren’t waiting for it to double like a yeast dough.
Let the first arepa guide the batch
Divide the dough into 12 pieces and roll them evenly, aiming for about ¼ inch thick. If a round keeps springing back, give it a few minutes to relax before rolling again.
Before filling the pan, fry just one arepa. This small check is worth the extra attention: a golden outside can hide a doughy middle, especially if the rounds are too thick or the oil is too hot.
Heat the oil to approximately 350°F (175°C) and fry the first round for about 2–3 minutes per side. Let it cool briefly on a rack, then cut it open. The inside should look cooked and bread-like, without a wet or gummy band.
If the outside darkens before the center cooks, lower the heat slightly and check the thickness of the remaining rounds. Continue in small batches, allowing the oil to return to temperature between them.
Some arepas puff enough to form a pocket; others have a more even interior. A hollow center isn’t required for a good result. What matters is a tender, cooked middle and a golden crust.
Drain the finished arepas on a wire rack in a single layer. Stacking them while hot traps steam and softens the outside.
Where they fit on the table
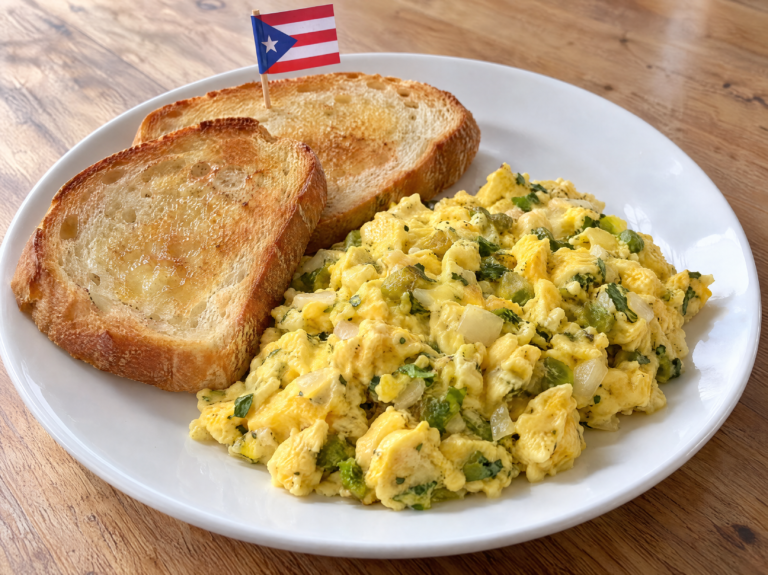
For breakfast, serve an arepa alongside the scrambled eggs from my huevos con sofrito y tostadas, using it in place of the toast. Their mild sweetness also works beside Puerto Rican pollo guisado, with its savory sauce.
If you’re exploring more Puerto Rican fried favorites, try bacalaitos next. Those salt-cod fritters offer a completely different flavor from this coconut bread.
These arepas are best freshly fried, so prepare any accompaniments before the last batch comes out of the pan. Give them a few minutes to cool, then serve while the centers are still warm.
Would you eat yours plain with coffee, with cheese and guava, or alongside a savory meal?
Arepas de Coco Puertorriqueñas
Equipment
- Large mixing bowl
- Whisk
- Wooden spoon
- Kitchen scale
- Measuring cups and spoons
- Rolling Pin
- Ruler
- Baking sheet or tray
- Clean kitchen towel
- Heavy, deep-sided skillet or Dutch oven
- Frying thermometer
- Slotted spoon or heat-safe tongs
- Wire rack set over a baking sheet
Ingredients
DOUGH
- 2 cups all-purpose wheat flour 240 g, plus a little extra for dusting
- 2 tablespoons granulated sugar 25 g
- 2 teaspoons baking powder 8 g
- ½ teaspoon fine salt 3 g
- ¾ cup unsweetened full-fat canned coconut milk 180 ml, well stirred
- Up to ¼ cup additional coconut milk 60 ml, only as needed
FOR FRYING
- Neutral frying oil such as canola or vegetable oil, enough for a depth of approximately 1 inch in your pan
Instructions
- Stir the coconut milk thoroughly so the thick cream and liquid are evenly combined before measuring.
- In a large bowl, whisk together the flour, sugar, baking powder, and salt.
- Add ¾ cup coconut milk and stir until a rough dough forms. If dry flour remains and the dough will not come together, add more coconut milk 1 tablespoon at a time. Stop when the dough is soft and slightly tacky but manageable; you may not need the full extra ¼ cup.
- Transfer the dough to a lightly floured surface. Knead gently for 1–2 minutes, just until evenly combined and reasonably smooth. Avoid adding large amounts of flour or kneading until stiff.
- Shape the dough into a ball, return it to the bowl, and cover. Let rest at room temperature for 30 minutes.
- Divide the rested dough into 12 equal pieces. Roll each piece into a ball, then flatten and roll into a round approximately 3½ inches across and ¼ inch thick. If a round springs back, let it relax for a few minutes before rolling again.
- Place the rounds on a lightly floured tray and keep covered while preparing the oil.
- Pour oil into a heavy, deep-sided pan to a depth of approximately 1 inch, keeping the pan no more than half full. Heat to 350°F (175°C). Set a wire rack over a baking sheet nearby.
- Carefully lower one dough round into the oil for a test batch. Fry for approximately 2–3 minutes per side, turning carefully, until golden and cooked through. The arepa may puff, but the amount of puffing will vary.
- Transfer the test arepa to the rack. Let it cool briefly, then cut it open. The center should look cooked and bread-like, with no wet or gummy dough. If the outside browns before the center cooks, reduce the heat slightly and check that the remaining rounds are no thicker than ¼ inch.
- Fry the remaining rounds in small batches without crowding the pan, maintaining the oil near 350°F (175°C). Allow the oil to return to temperature between batches.
2 Comments